How To: Rebuild Master Cylinder
Rebuilding the front brake master cylinder on your motorcycle is a scary endeavor to undertake if you have never done it before, but it is undoubtedly easier than you think. Here’s how to get your front brake dialed before you work on getting your stoppie dialed:
How To: Master Cylinder Rebuild
The pictures and instruction below detail rebuilding a front brake master cylinder on a KTM 300 with a Moose Master Cylinder Rebuild Kit, but it is pretty much the same concept for any motorcycle make and model.
First off, you will want to unscrew the banjo bolt that holds your brake line to your master cylinder. **This will be a 14mm bolt on KTM brakes. Japanese will be either a 12mm bolt or a 6mm allen bolt. You will lose some brake fluid so have a rag ready to catch the fluid. Try not to misplace the brass crush washers on either side of the bolt. Most master cylinder rebuild kits include new crush washers but just in case yours does not you should hold on to them.
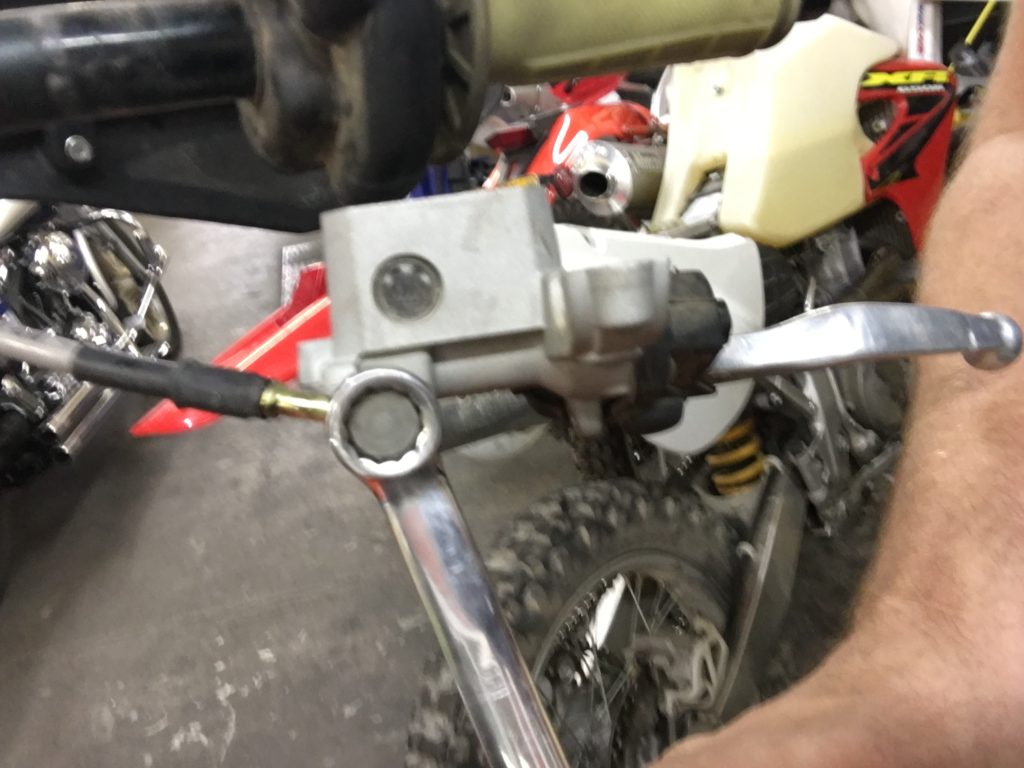
Undo the brake line to lever banjo bolt. Remove the brake line
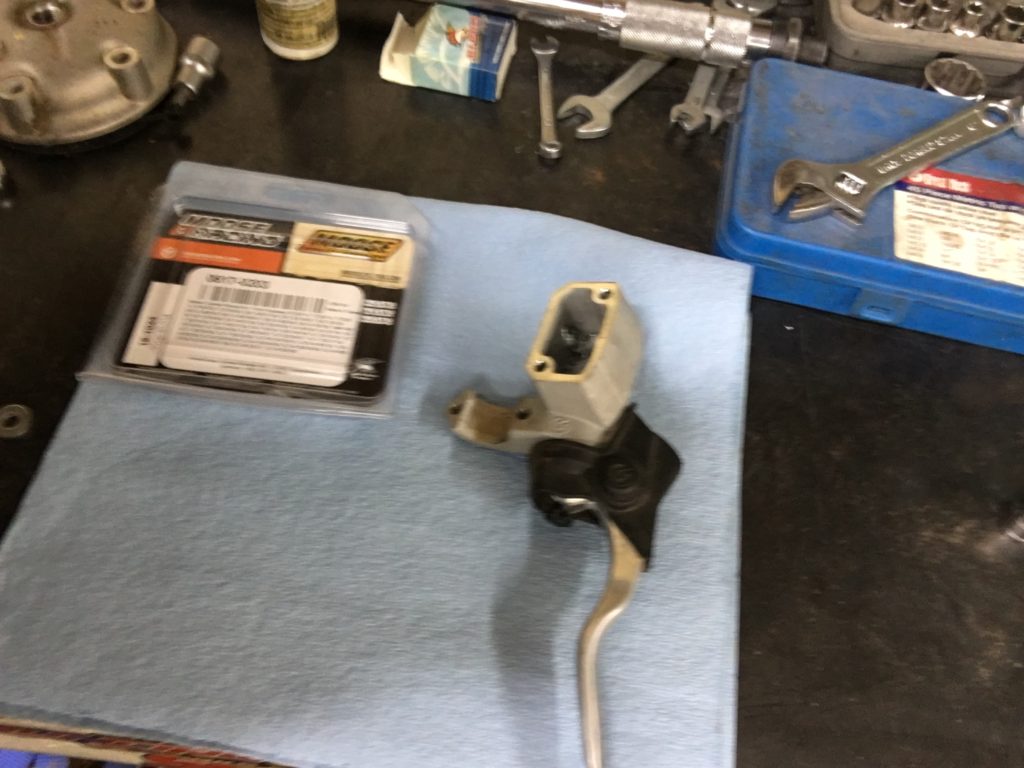
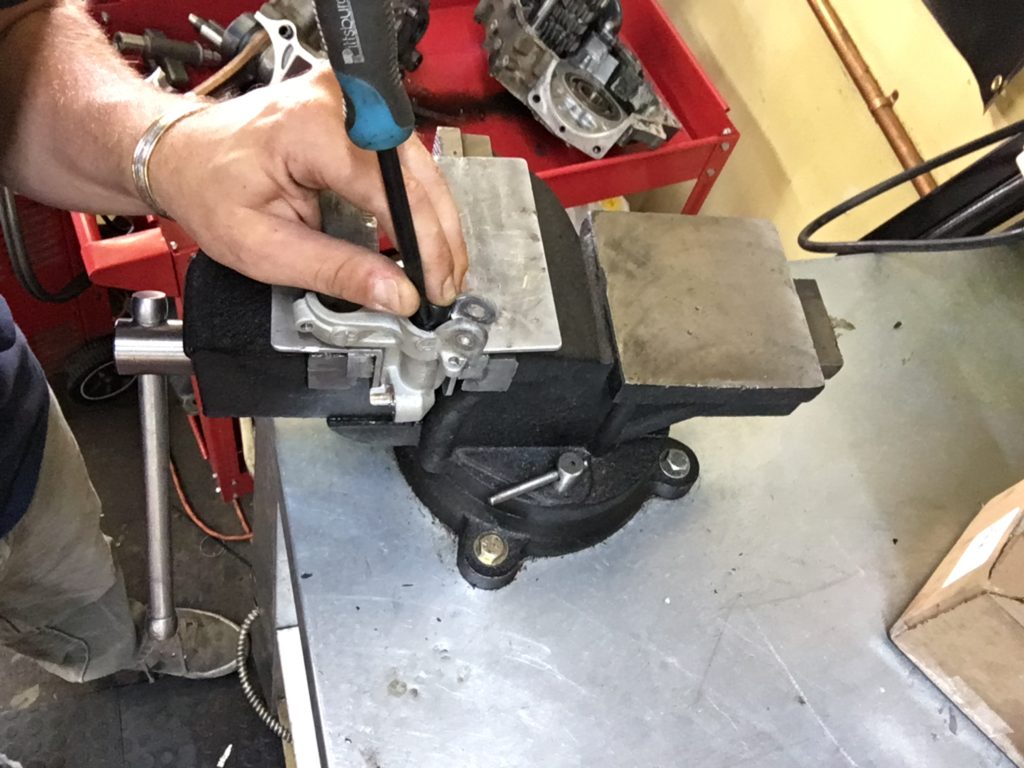
Then, loosen and unscrew the two 8mm bolts that clamp your master cylinder to your handlebar. This allows you to fully remove your brake assembly from your motorcycle and install the rebuild kit at the comfort of your work bench.
Remove the brake from the handlebar
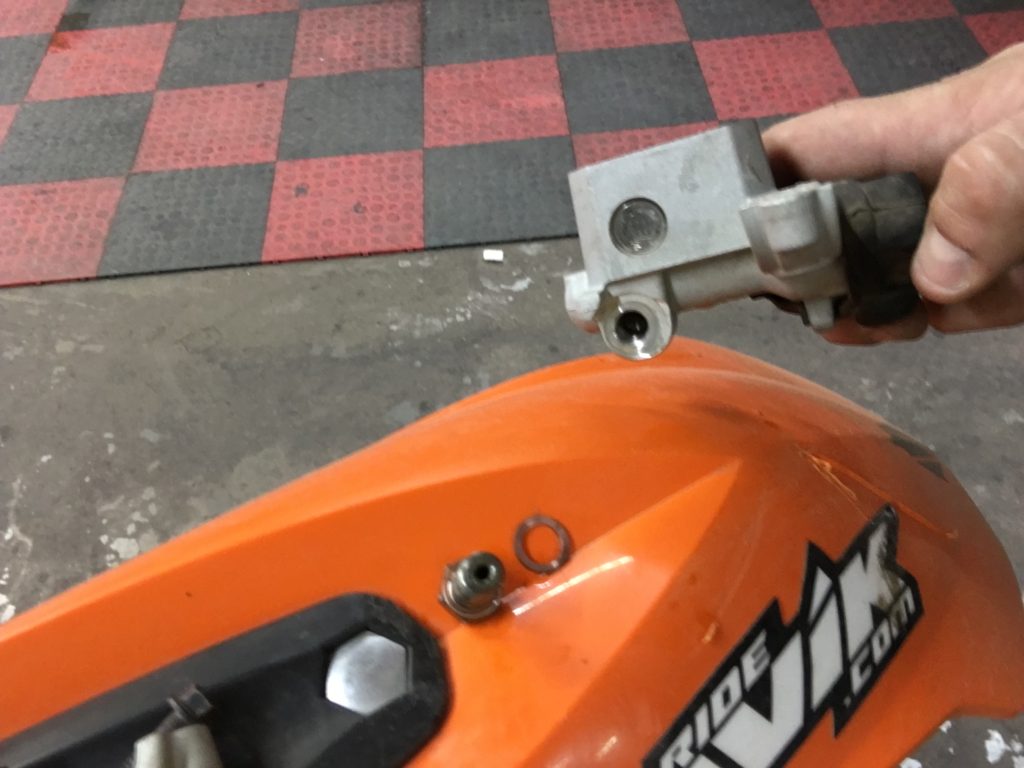
Next, take out the two screws that hold on the reservoir cap and remove the cap and rubber diaphragm. This can be done before or after you remove the master cylinder from your bike. The diaphragm may not be included with your rebuild kit so inspect it for any tears and handle it with care as you will probably be reusing it. Then drain any residual brake fluid that is still in the brake reservoir.
Remove the resevoir fill cap
At this point remove the actual brake lever blade from the brake unit using most likely an 8mm and 10mm wrench or socket.
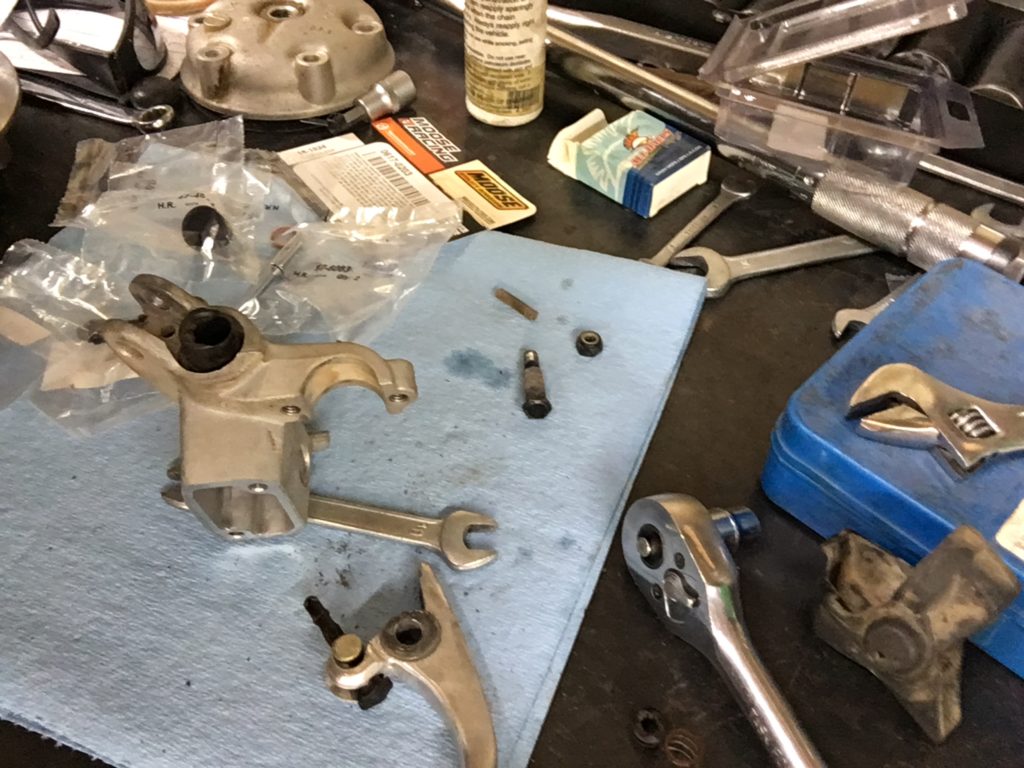
Remove brake lever blade
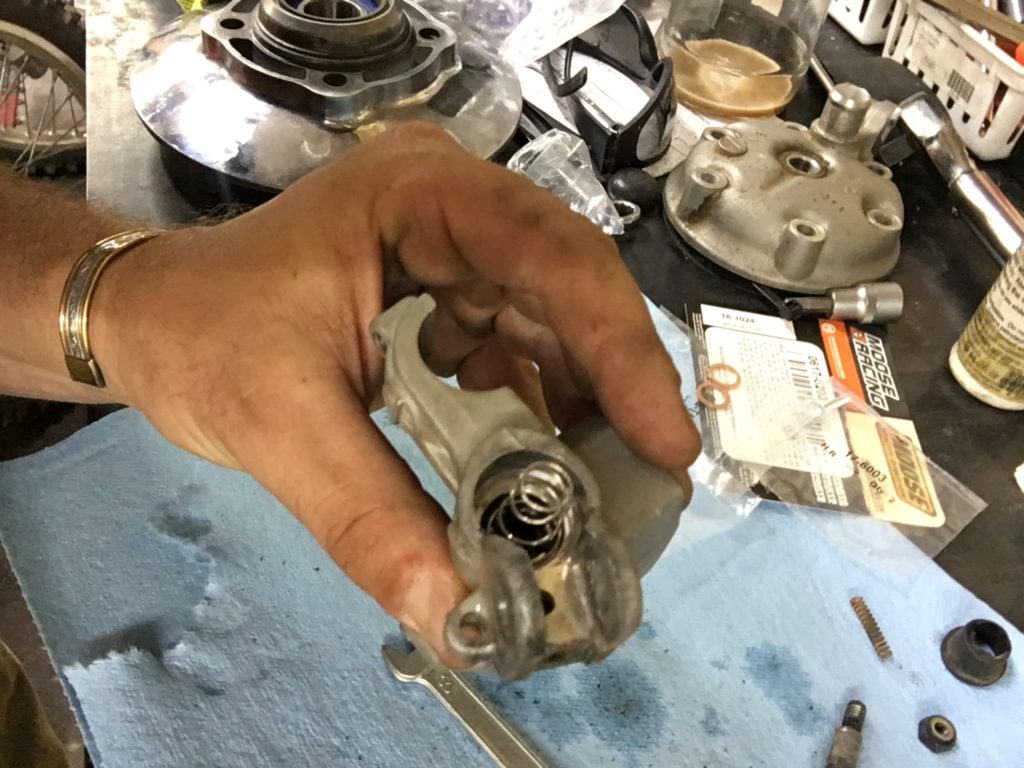
Now you will pull the rubber seal and spring out which will expose a small snap ring.
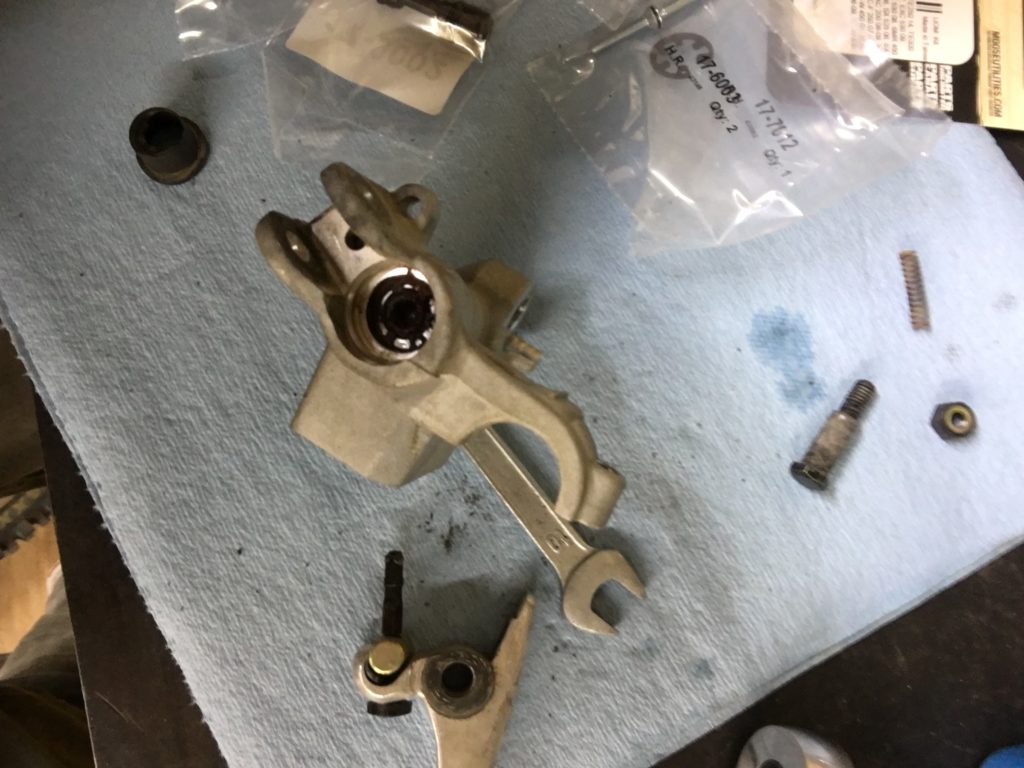
Remove rubber seal
Using a pair of snap ring pliers remove the snap ring that holds the plunger pin in place. Remove the plunger and spring. Note: This is a good reason to invest in a quality pair of snap ring pliers. It makes the removal much easier. .
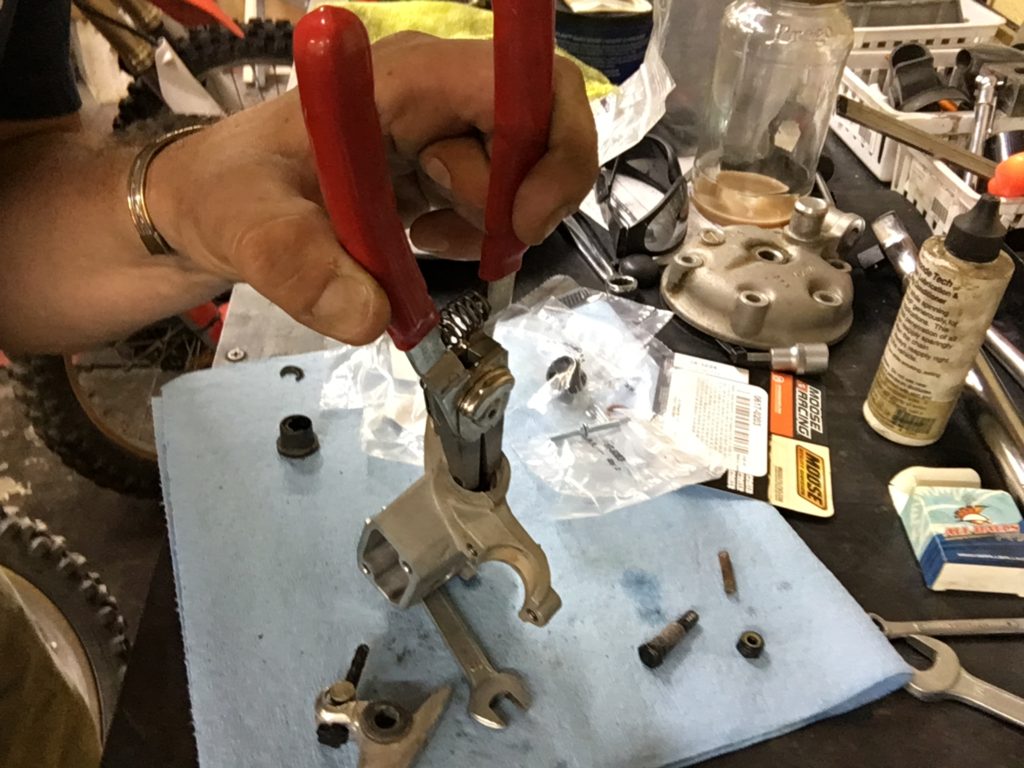
Remove snap ring
It’s important to fully clean the area where the new plunger and snap ring will sit. Any debris on the new seal may lead to problems you don’t need.

Clean and replace all parts with new
Install the new plunger, spring and snap ring.
Install new lever spring and rubber seal.
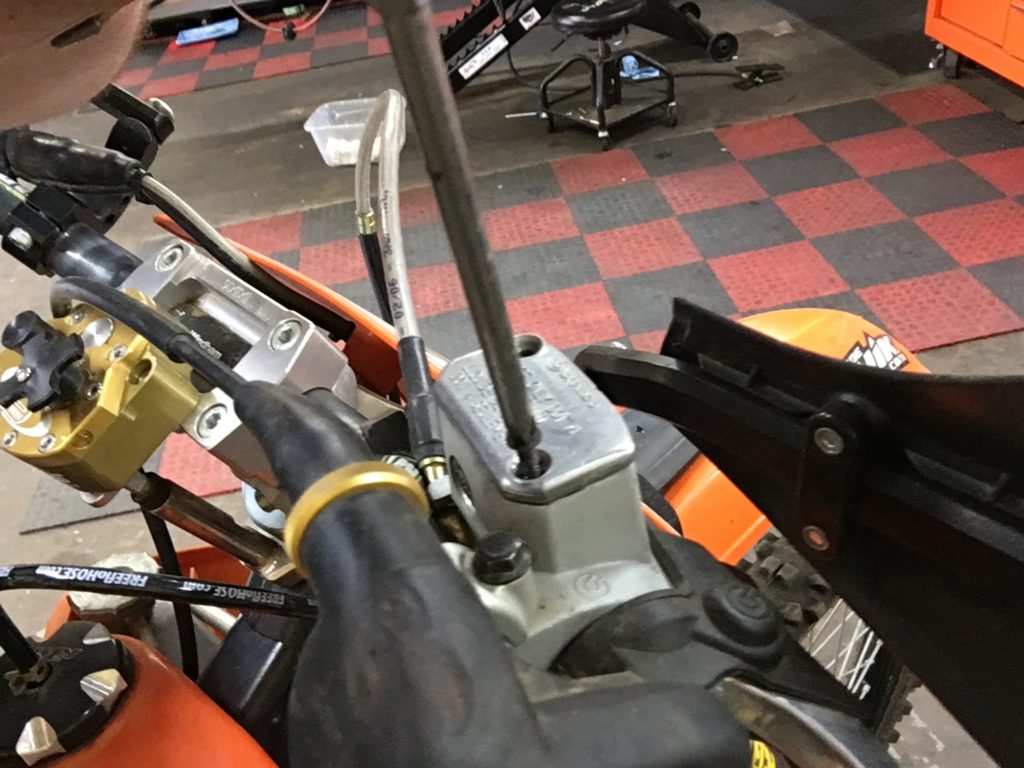
Reassemble the brake lever and remount the master cylinder to the handlebar.
Then reattach the brake line using new crush washers if available.

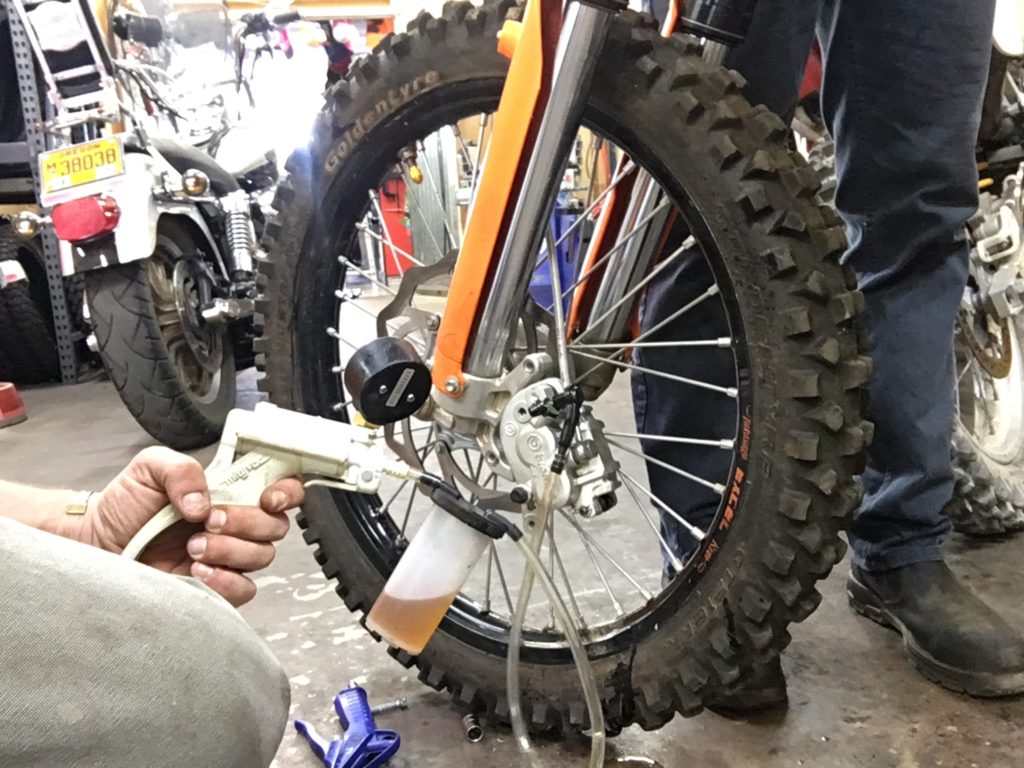
The next step is to properly bleed your brake system with fresh brake fluid. If you are unsure on how to do that we will have a post here soon.
Sick stoppies!